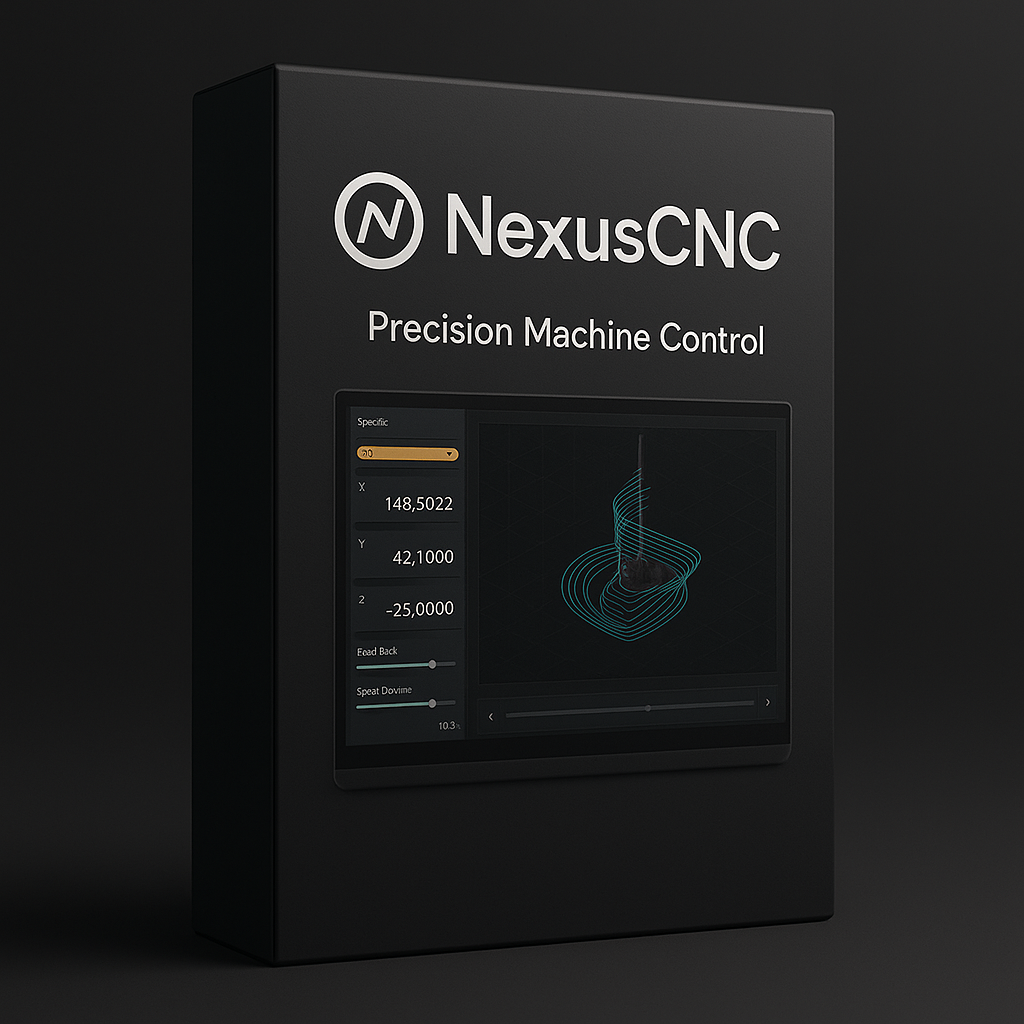
NexusCNC (Main CNC Hub Controller)
฿10,000.00
NexusCNC is a high-performance machine control software that transforms your PC into a powerful, industrial-grade CNC controller. Acting as the definitive link between your G-code and your hardware, NexusCNC provides the rock-solid stability and real-time performance needed for flawless execution. Its core mission is to interpret your toolpaths with ultimate precision and translate them into perfectly synchronized physical motion.
Description
NexusCNC: The Central Nervous System for Your Machine.
NexusCNC is a high-performance machine control software that transforms your PC into a powerful, industrial-grade CNC controller. Acting as the definitive link between your G-code and your hardware, NexusCNC provides the rock-solid stability and real-time performance needed for flawless execution. Its core mission is to interpret your toolpaths with ultimate precision and translate them into perfectly synchronized physical motion.
Featuring a fully customizable, intuitive dashboard with a real-time 3D toolpath visualizer, NexusCNC gives you a complete command center for your operations. Monitor every axis, override feed and speed rates on the fly, and utilize advanced diagnostic tools to keep your machine running at peak efficiency. With a low-latency motion planning engine, it ensures your machine moves smoothly, reducing wear and improving surface finish.
Whether you’re retrofitting an industrial machine or building a custom CNC from the ground up, NexusCNC provides the robust, reliable, and responsive control you need to machine with absolute confidence.
Quick Guide: How to Use NexusCNC
This guide outlines the typical workflow for running a job after you have already generated a G-code file from your CAM software.
Step 1: Connect and Home the Machine
- Launch NexusCNC: Open the software on the computer connected to your CNC machine.
- Establish Connection: Power on your CNC machine and its controller. In NexusCNC, click the “Connect” or “Enable” button. The software should recognize the machine.
- Home the Machine: Click the “Home All” button. The machine will move each axis (X, Y, Z) to its respective limit switch. This sets the Machine Coordinate System and lets the software know the physical boundaries of the machine.
Step 2: Load Your G-Code File
- Click the “Load G-Code” button.
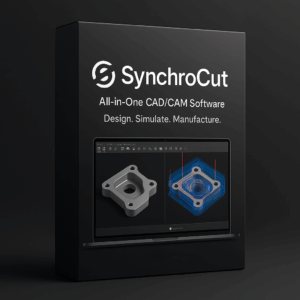
- Navigate to the
.ncor.gcodefile you created with your CAM program (e.g., SynchroCut). - Once loaded, the toolpaths will appear in the 3D Visualizer window, showing you the path the tool will take.
Step 3: Set Your Work Zero (Work Coordinate System – WCS)
This is the most critical step to ensure your machine cuts in the correct location on your material.
- Jog the Machine: Use the on-screen jog controls (or a connected keypad) to manually move the tool tip to the starting point of your job on the material (e.g., the bottom-left corner).
- Zero the X and Y Axes: Once the tool is positioned precisely over your X/Y start point, click the “Zero X” and “Zero Y” buttons.
- Zero the Z Axis (Tool Touch-Off):
- Slowly jog the Z-axis down until the tip of the tool just touches the top surface of your material. Using a piece of paper can help you feel when the tool makes contact.
- Alternatively, use an automated tool setter or touch probe if your machine has one.
- Once the tool is touching the material, click the “Zero Z” button.
- Your WCS is now set. The DRO (Digital Readout) for X, Y, and Z should all display ‘0.00’.
Step 4: Run the Job
- Safety Check: Ensure your material is securely clamped, you are wearing safety glasses, and the cutting area is clear.
- Turn on the Spindle: If your machine doesn’t do it automatically via G-code, manually turn on the spindle and set it to the correct speed.
- Cycle Start: Click the “Cycle Start” button to begin the job. The machine will start moving and executing the G-code.
Step 5: Monitor and Control In-Process
While the job is running, you can use NexusCNC’s interface to:
- Pause/Feed Hold: Temporarily stop all motion.
- Stop: Abort the job completely.
- Adjust Feed Rate: Use the Feed Rate Override (FRO) slider to speed up or slow down the cutting moves without altering the G-code.
- Adjust Spindle Speed: Use the Spindle Speed Override (SSO) slider if available.